web analytics

Steep Park House

Scene Overview


Break Down:

*Note: Click a Break Down Title to jump / Click that Title to return*

  1. Reference

  2. Modularity & Tiling Trims

  3. PBR Materials in Unreal

  4. Custom Textures

  5. Asset Creation

  6. Marvelous Designer Cloth

  7. Lighting

  8. Lure

Software Used:

  • Unreal
  • Maya
  • Headus UV
  • ZBrush
  • Photoshop
  • Marvelous Designer
  • Substance Designer
  • Substance Painter
  • Marmoset Toolbag
  • Knald

1.Reference

Lure the gaze of the viewer. This idea ran through my mind from the start to the end of this project.

I decided on a interior environment because I wanted to create a scene using baked lighting in Unreal. I used Pinterest, Tumblr and online forums to search for different concepts.

Steep Park House References

2.Modularity & Tiling Trims

Using Photoshop I cut out pieces from the references and colored them to get a general idea of what would belong on the tiling trim sheet.

Trim References

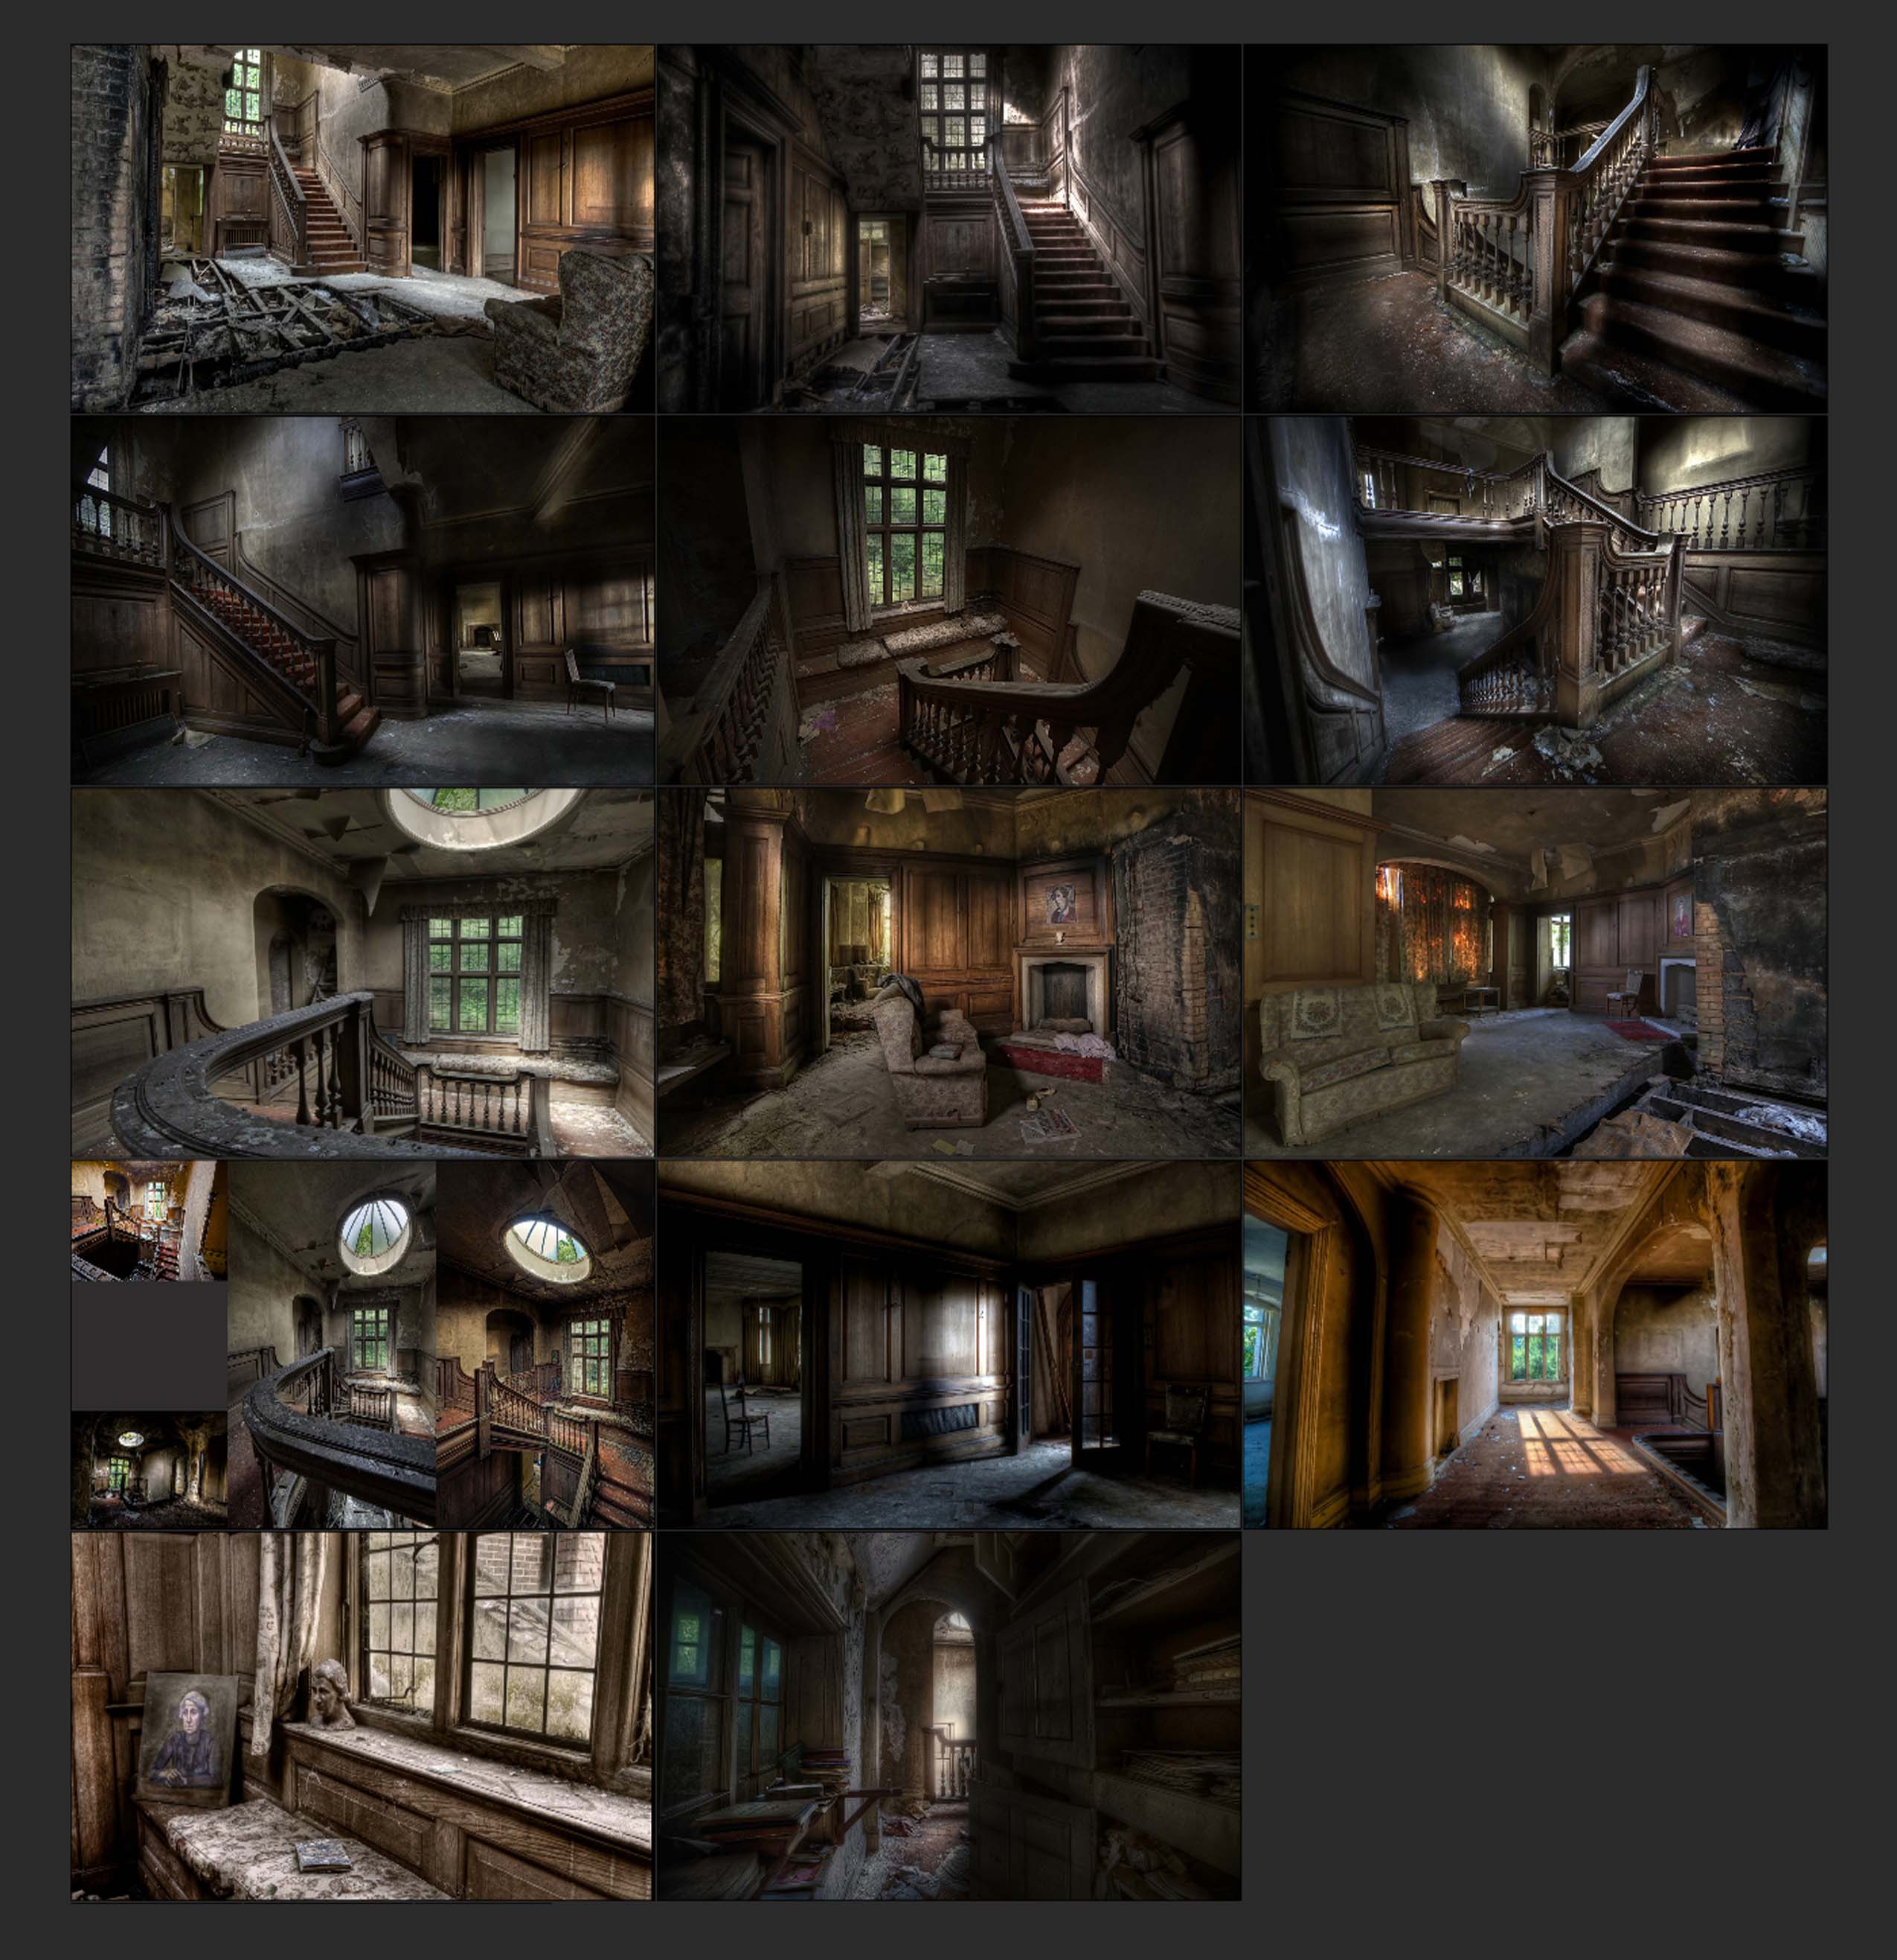
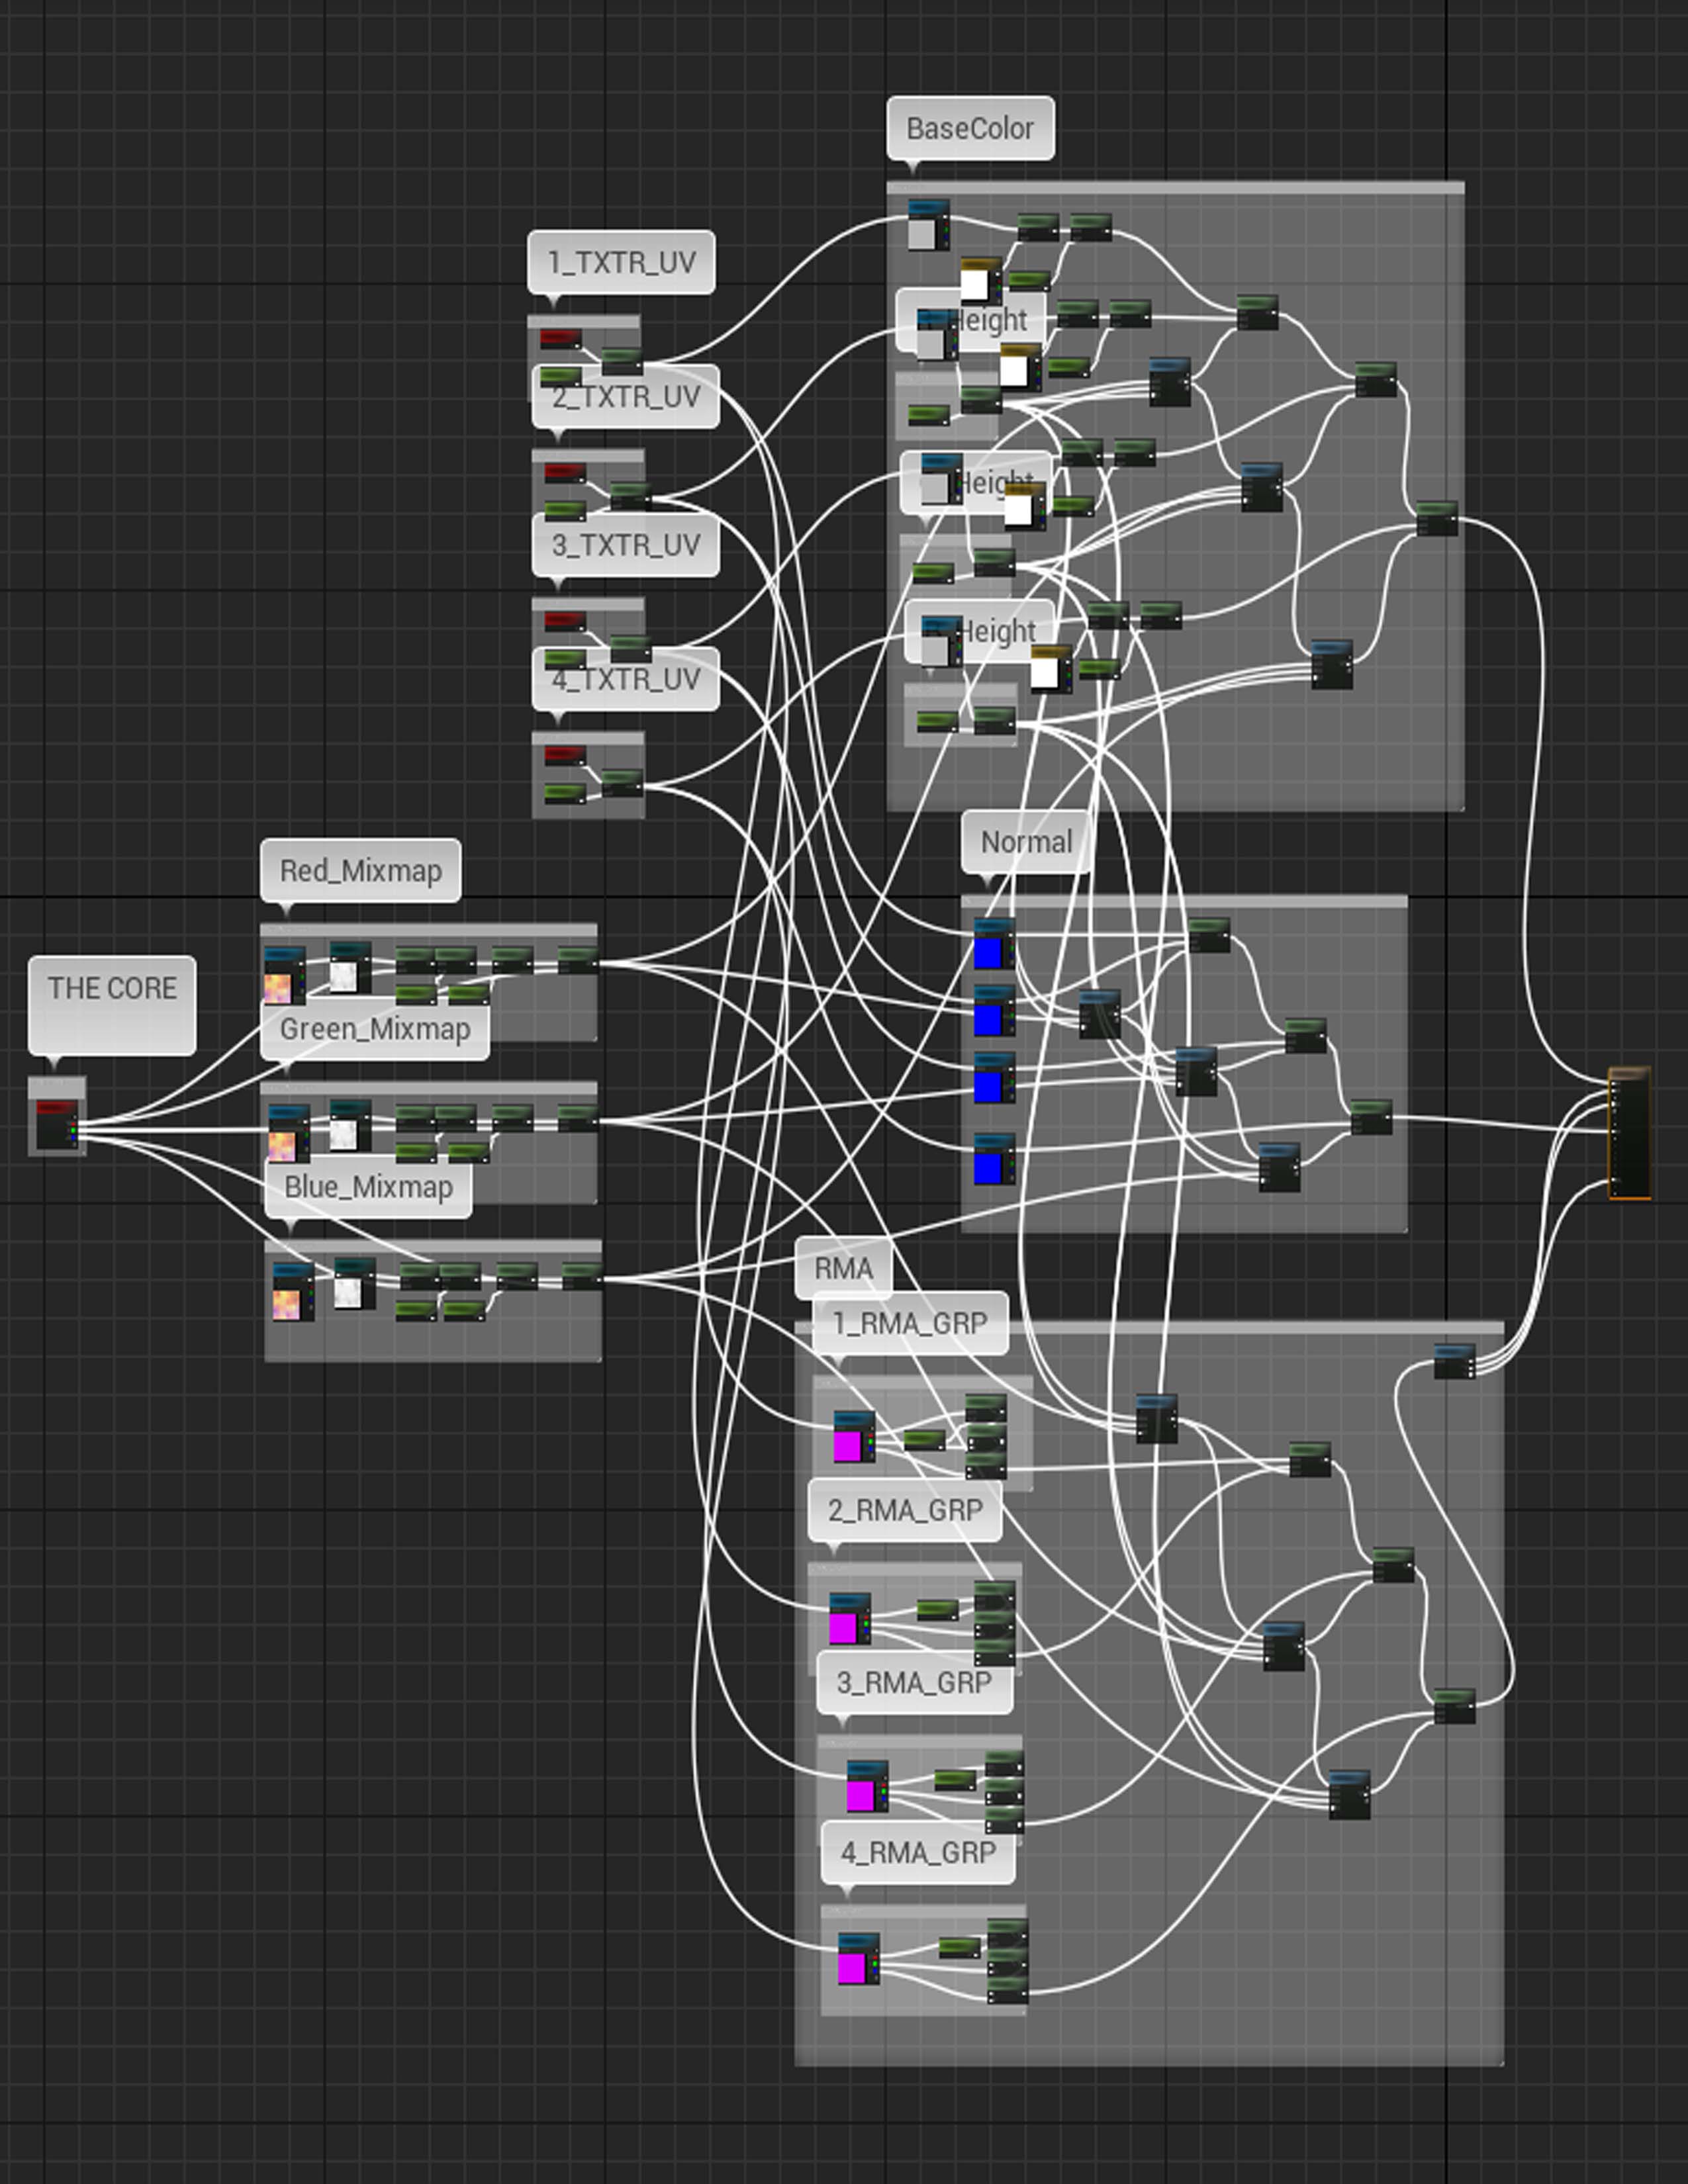
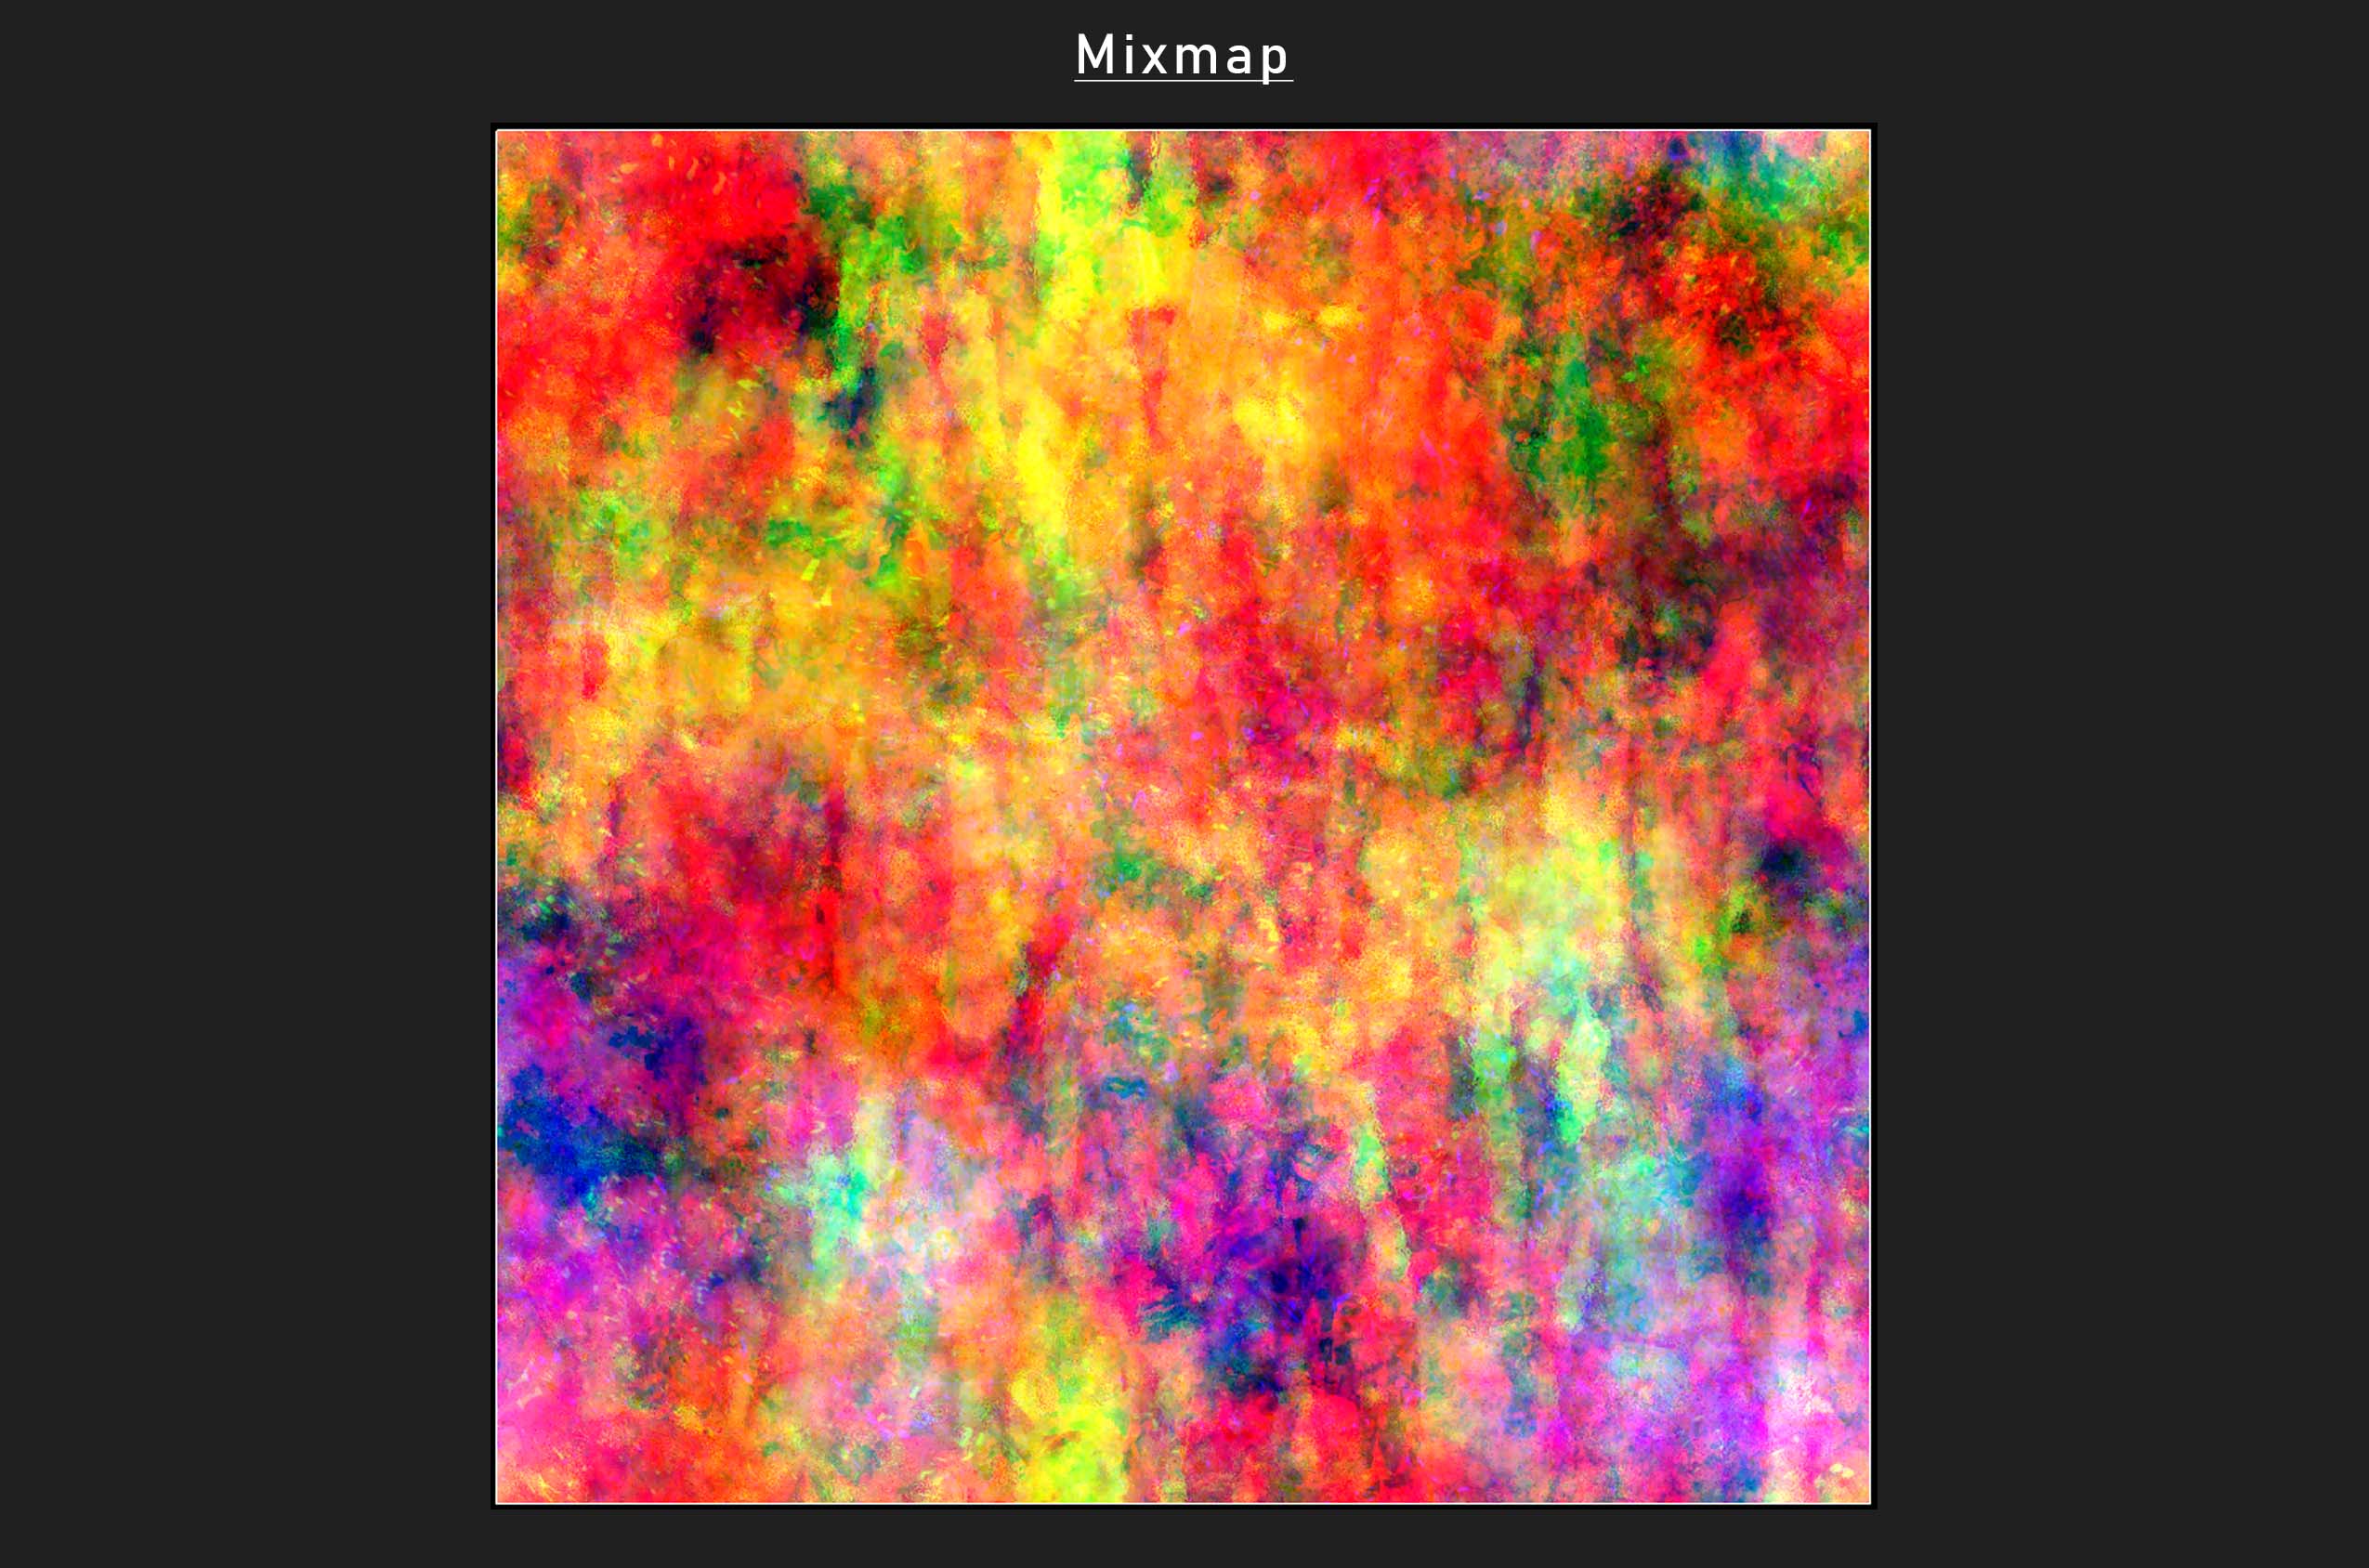
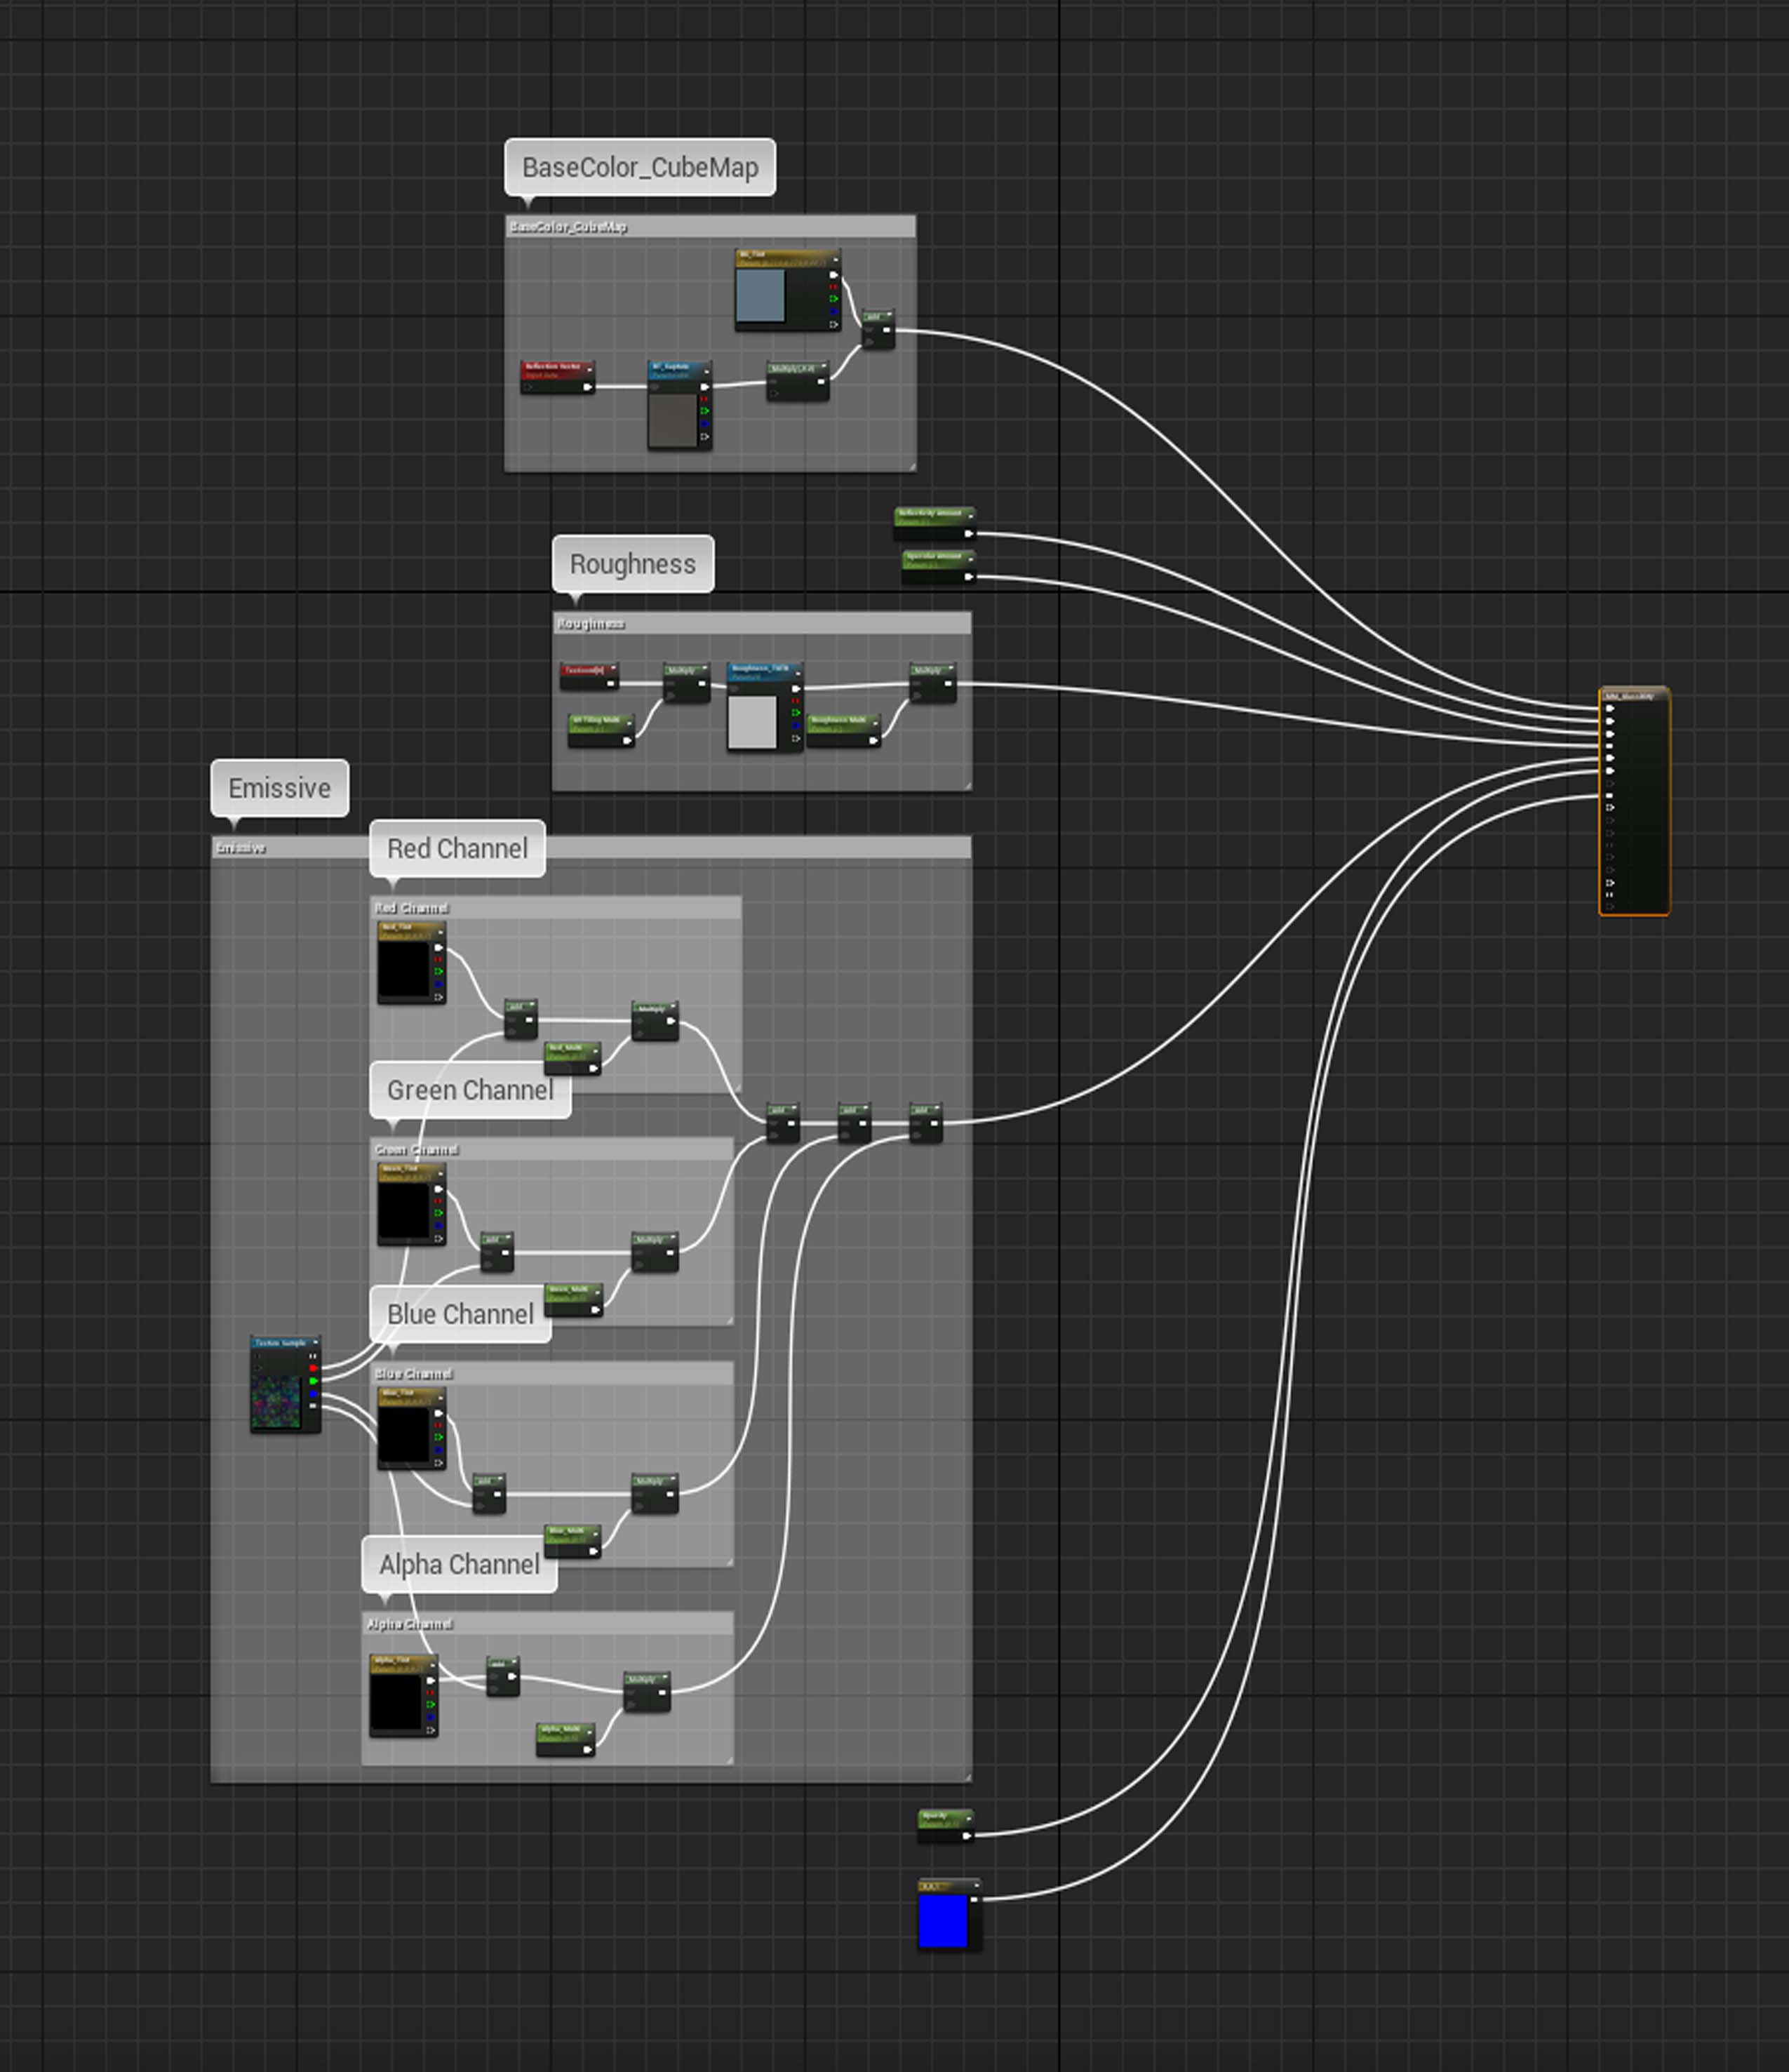
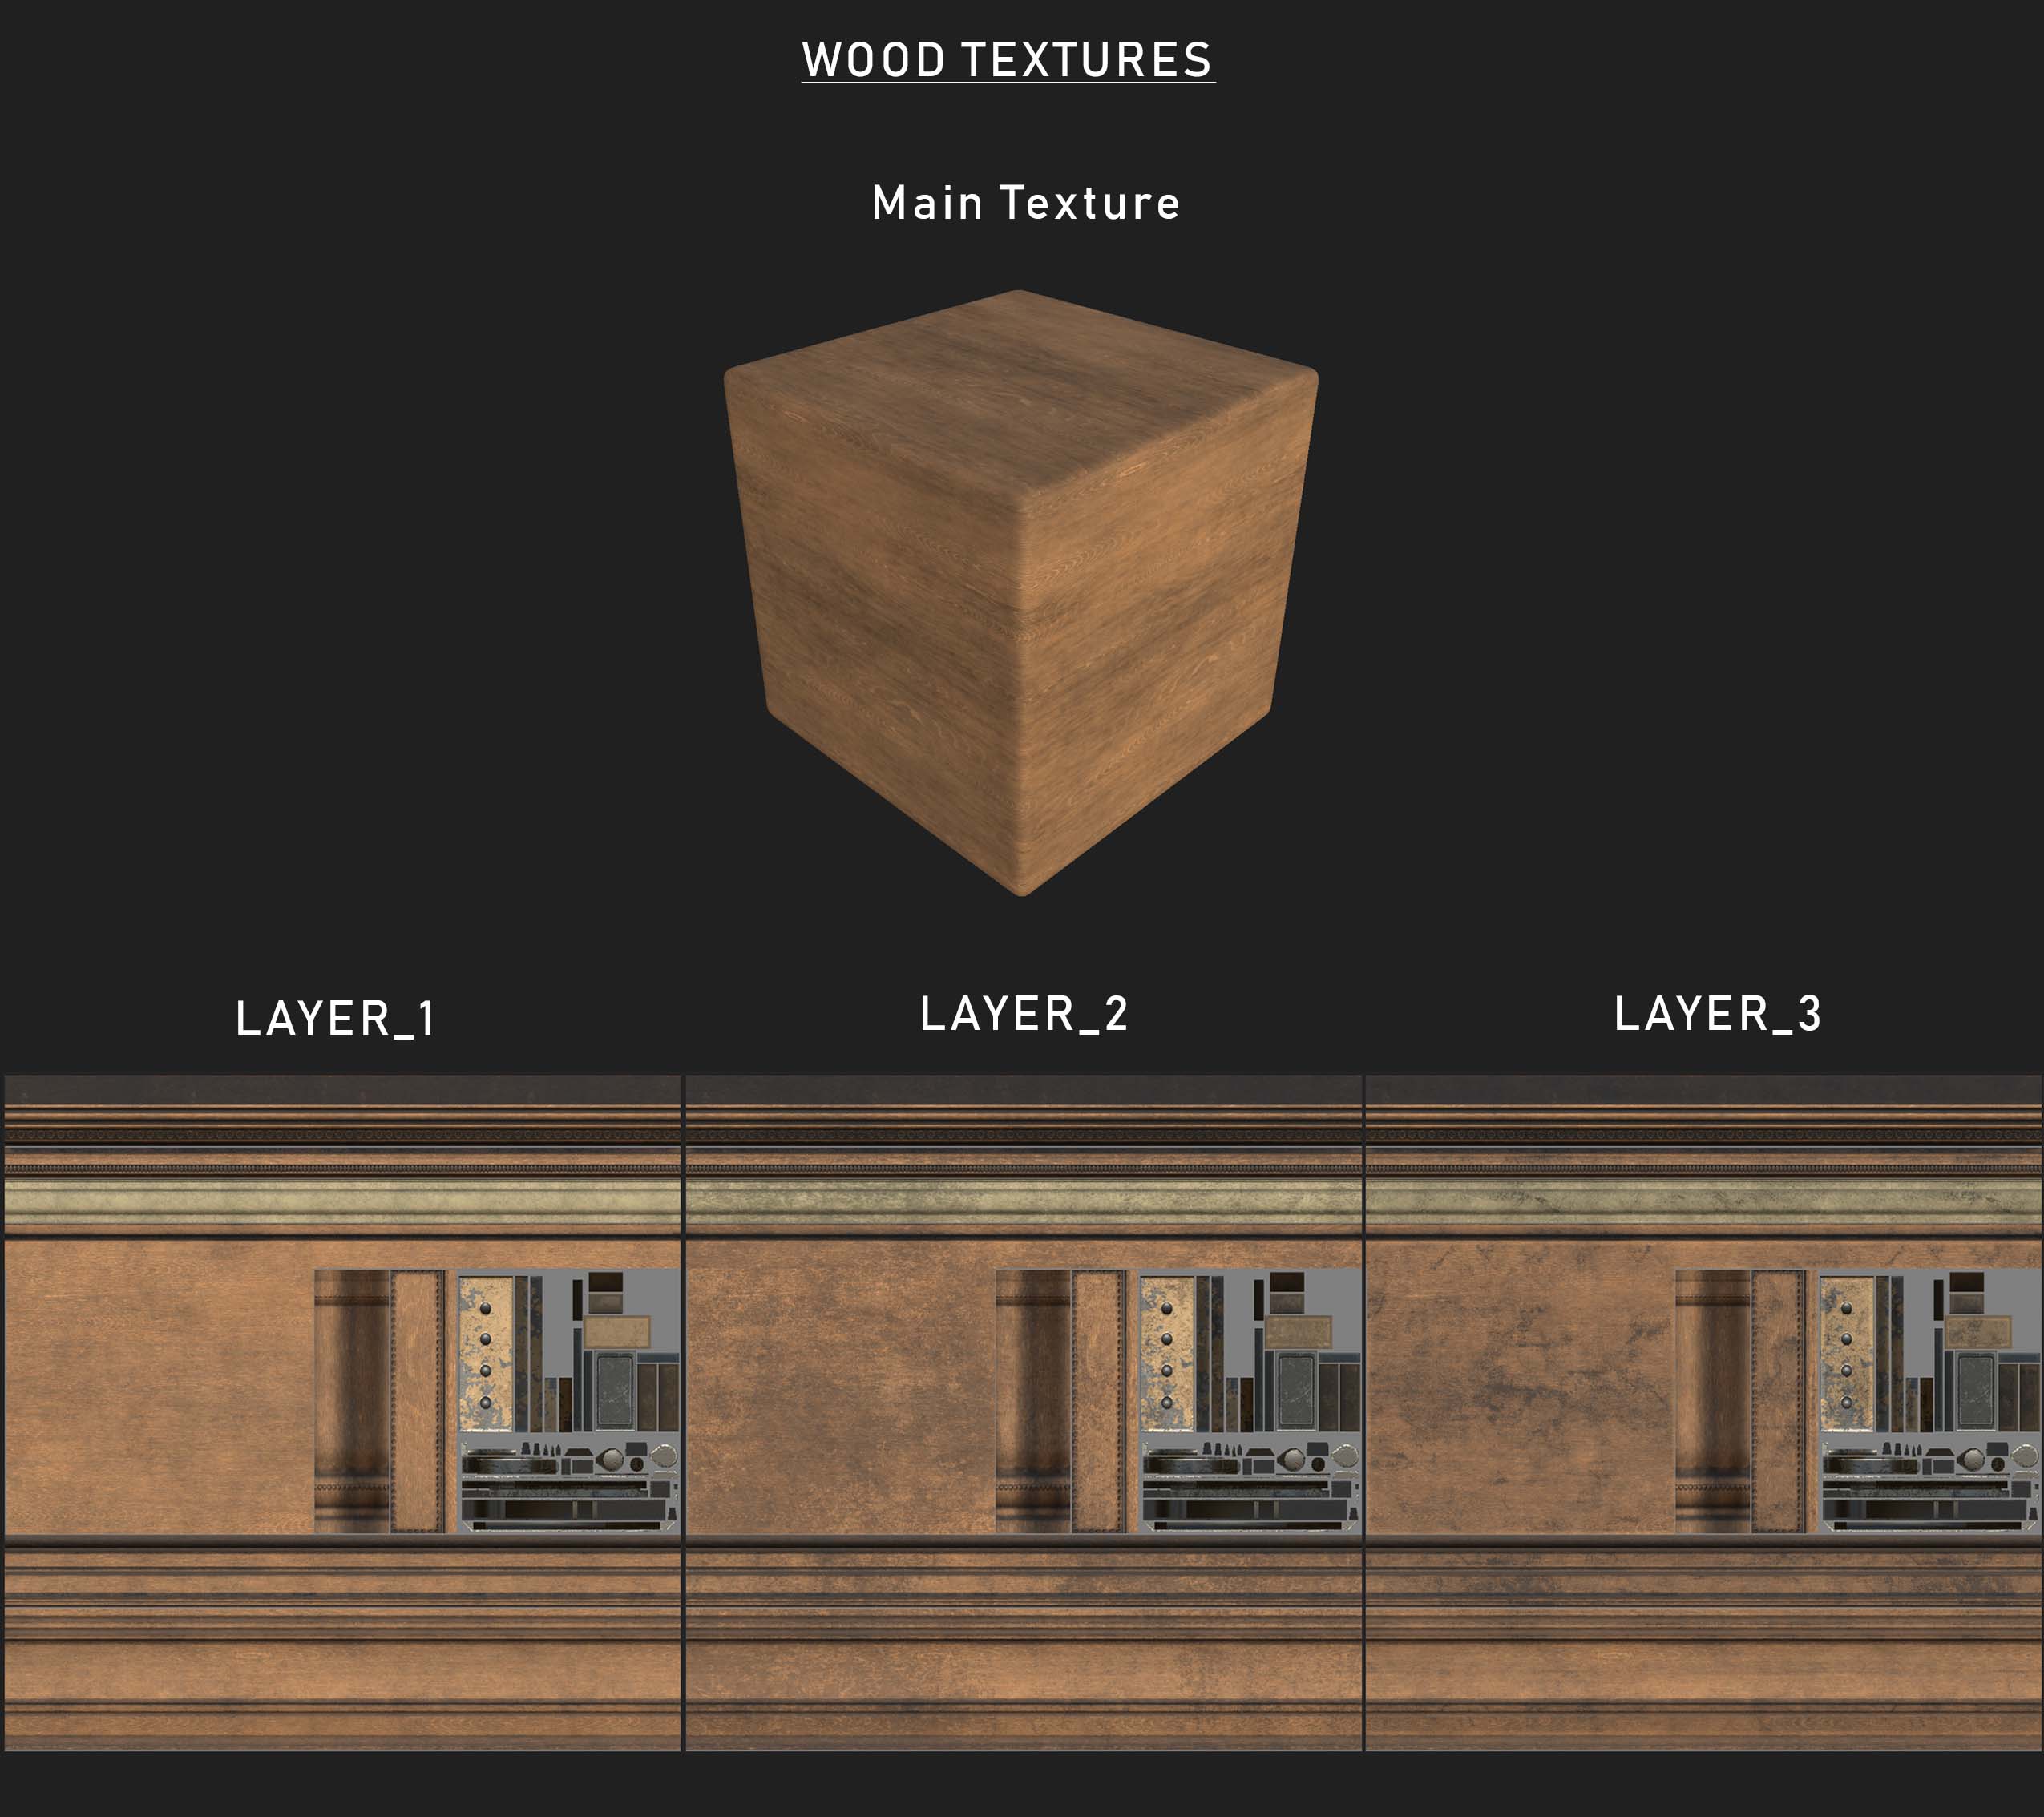
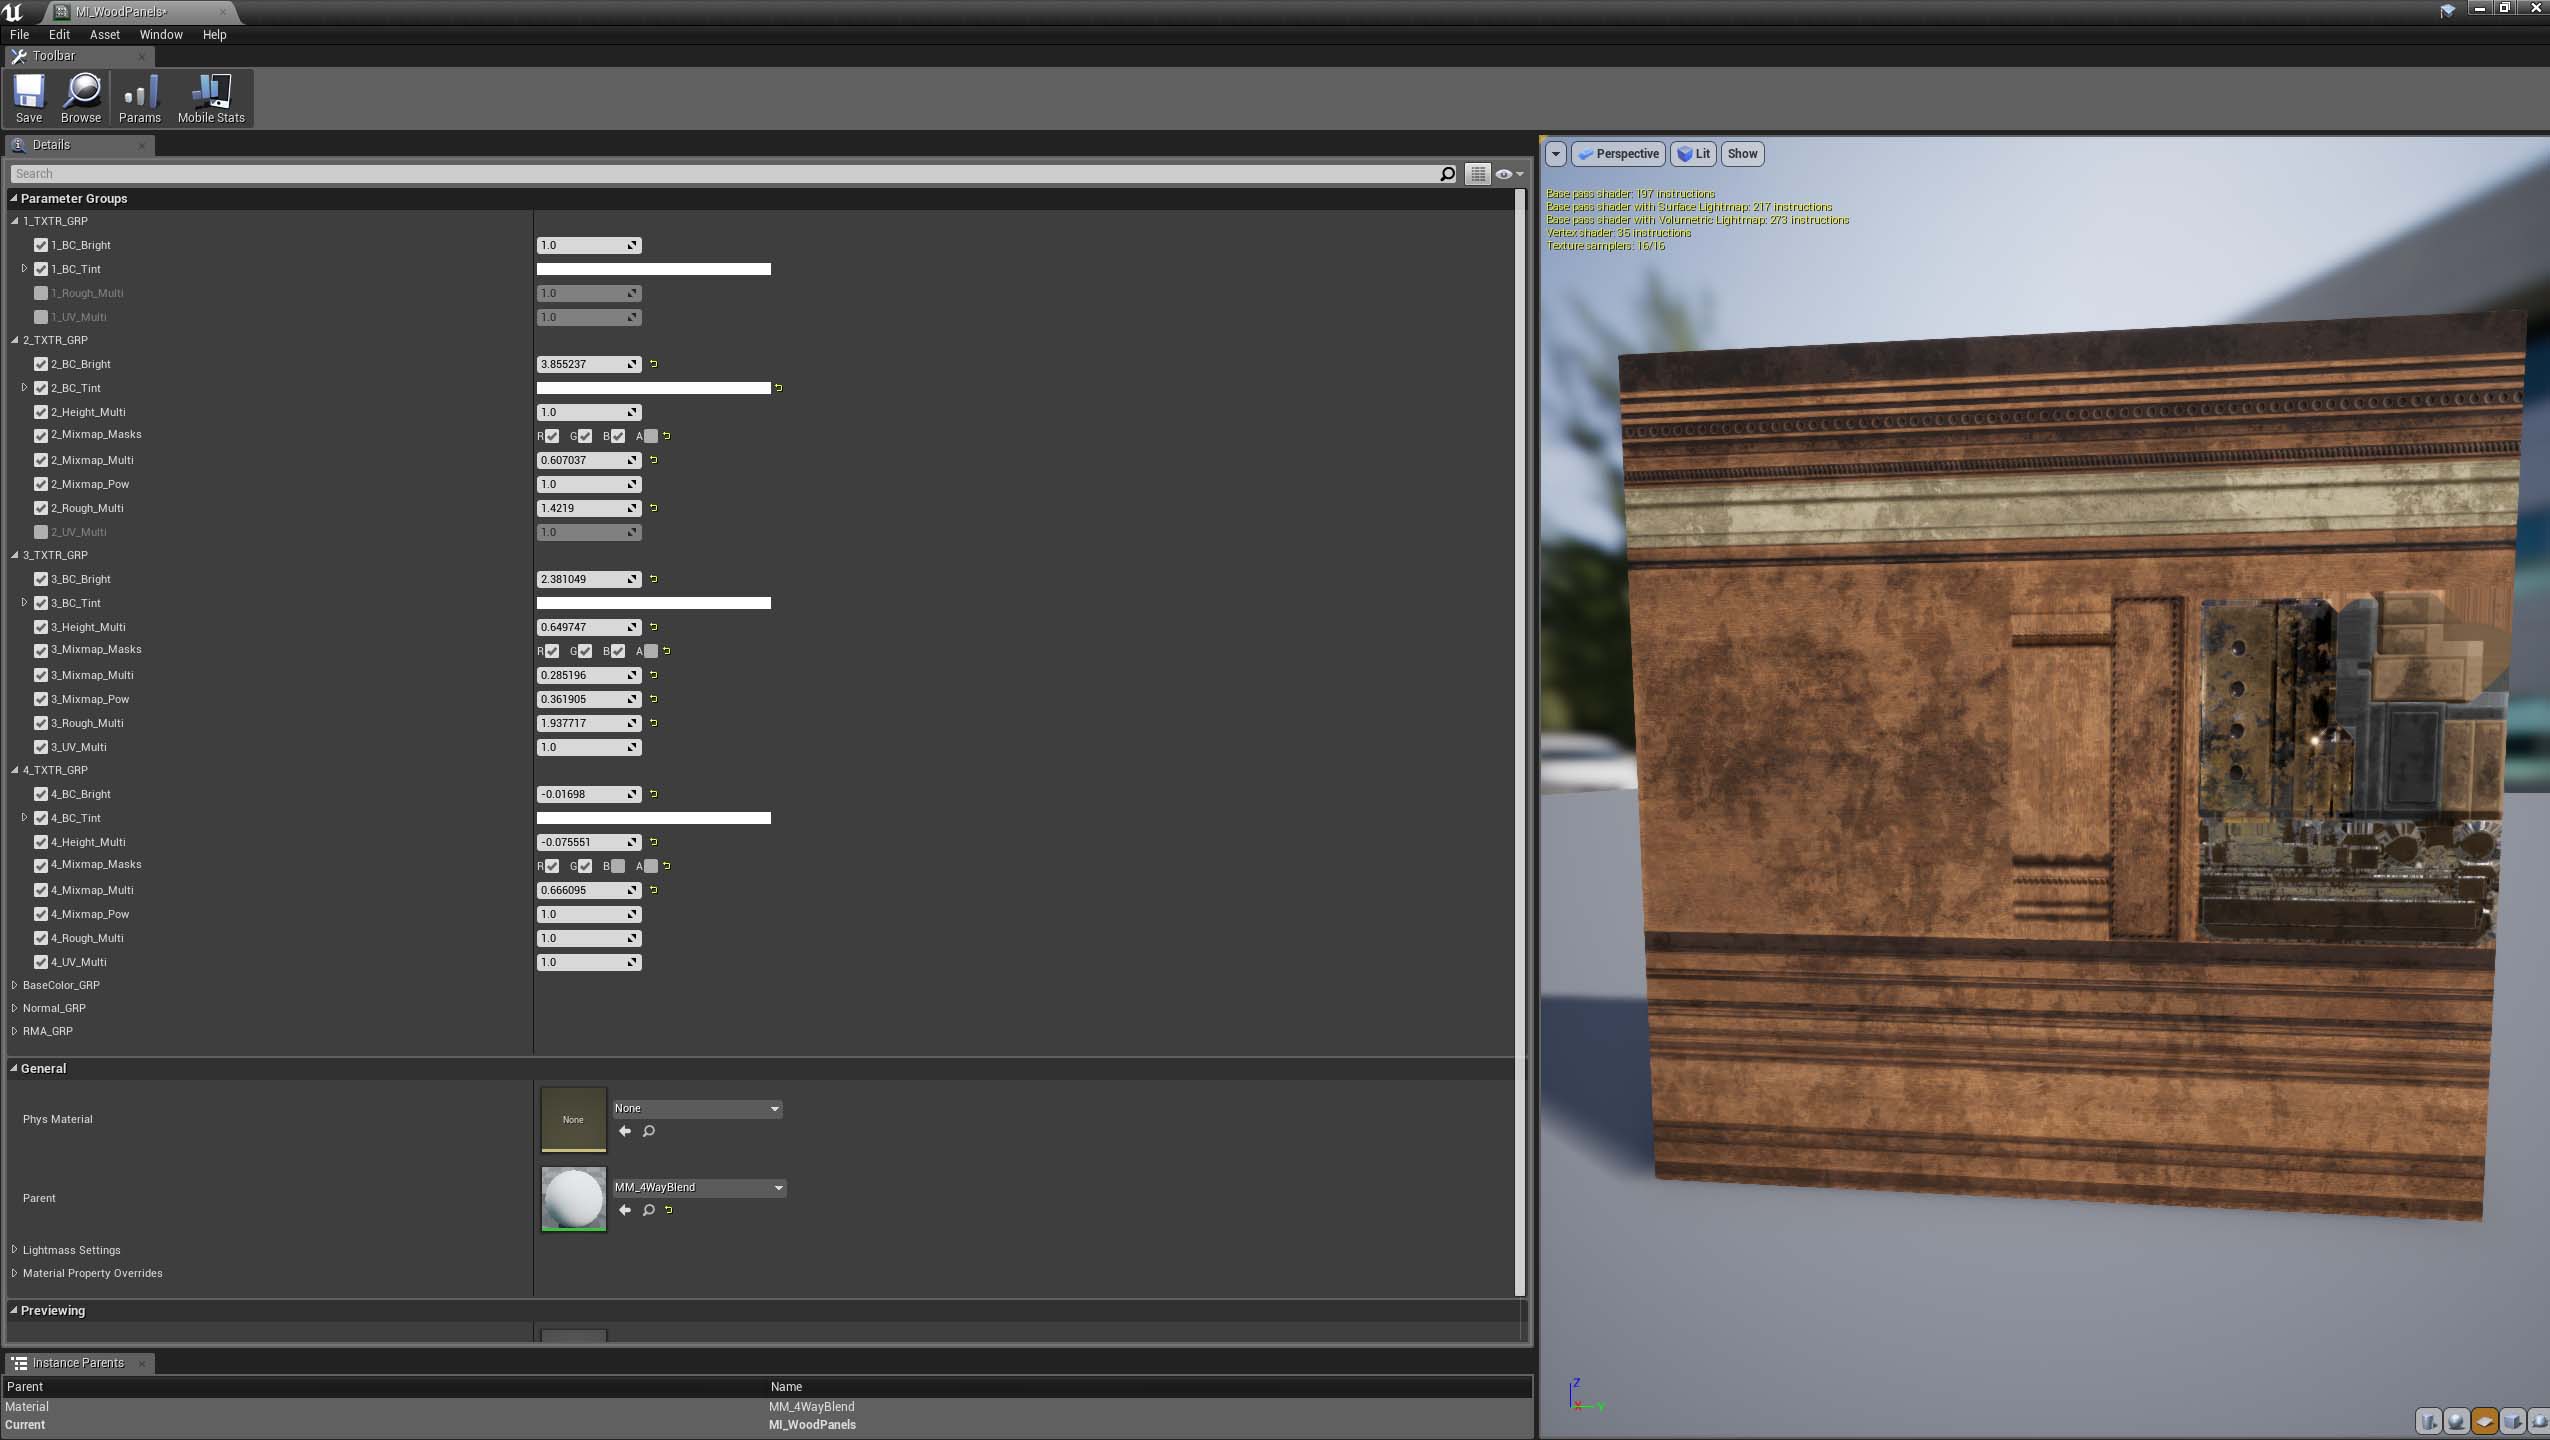
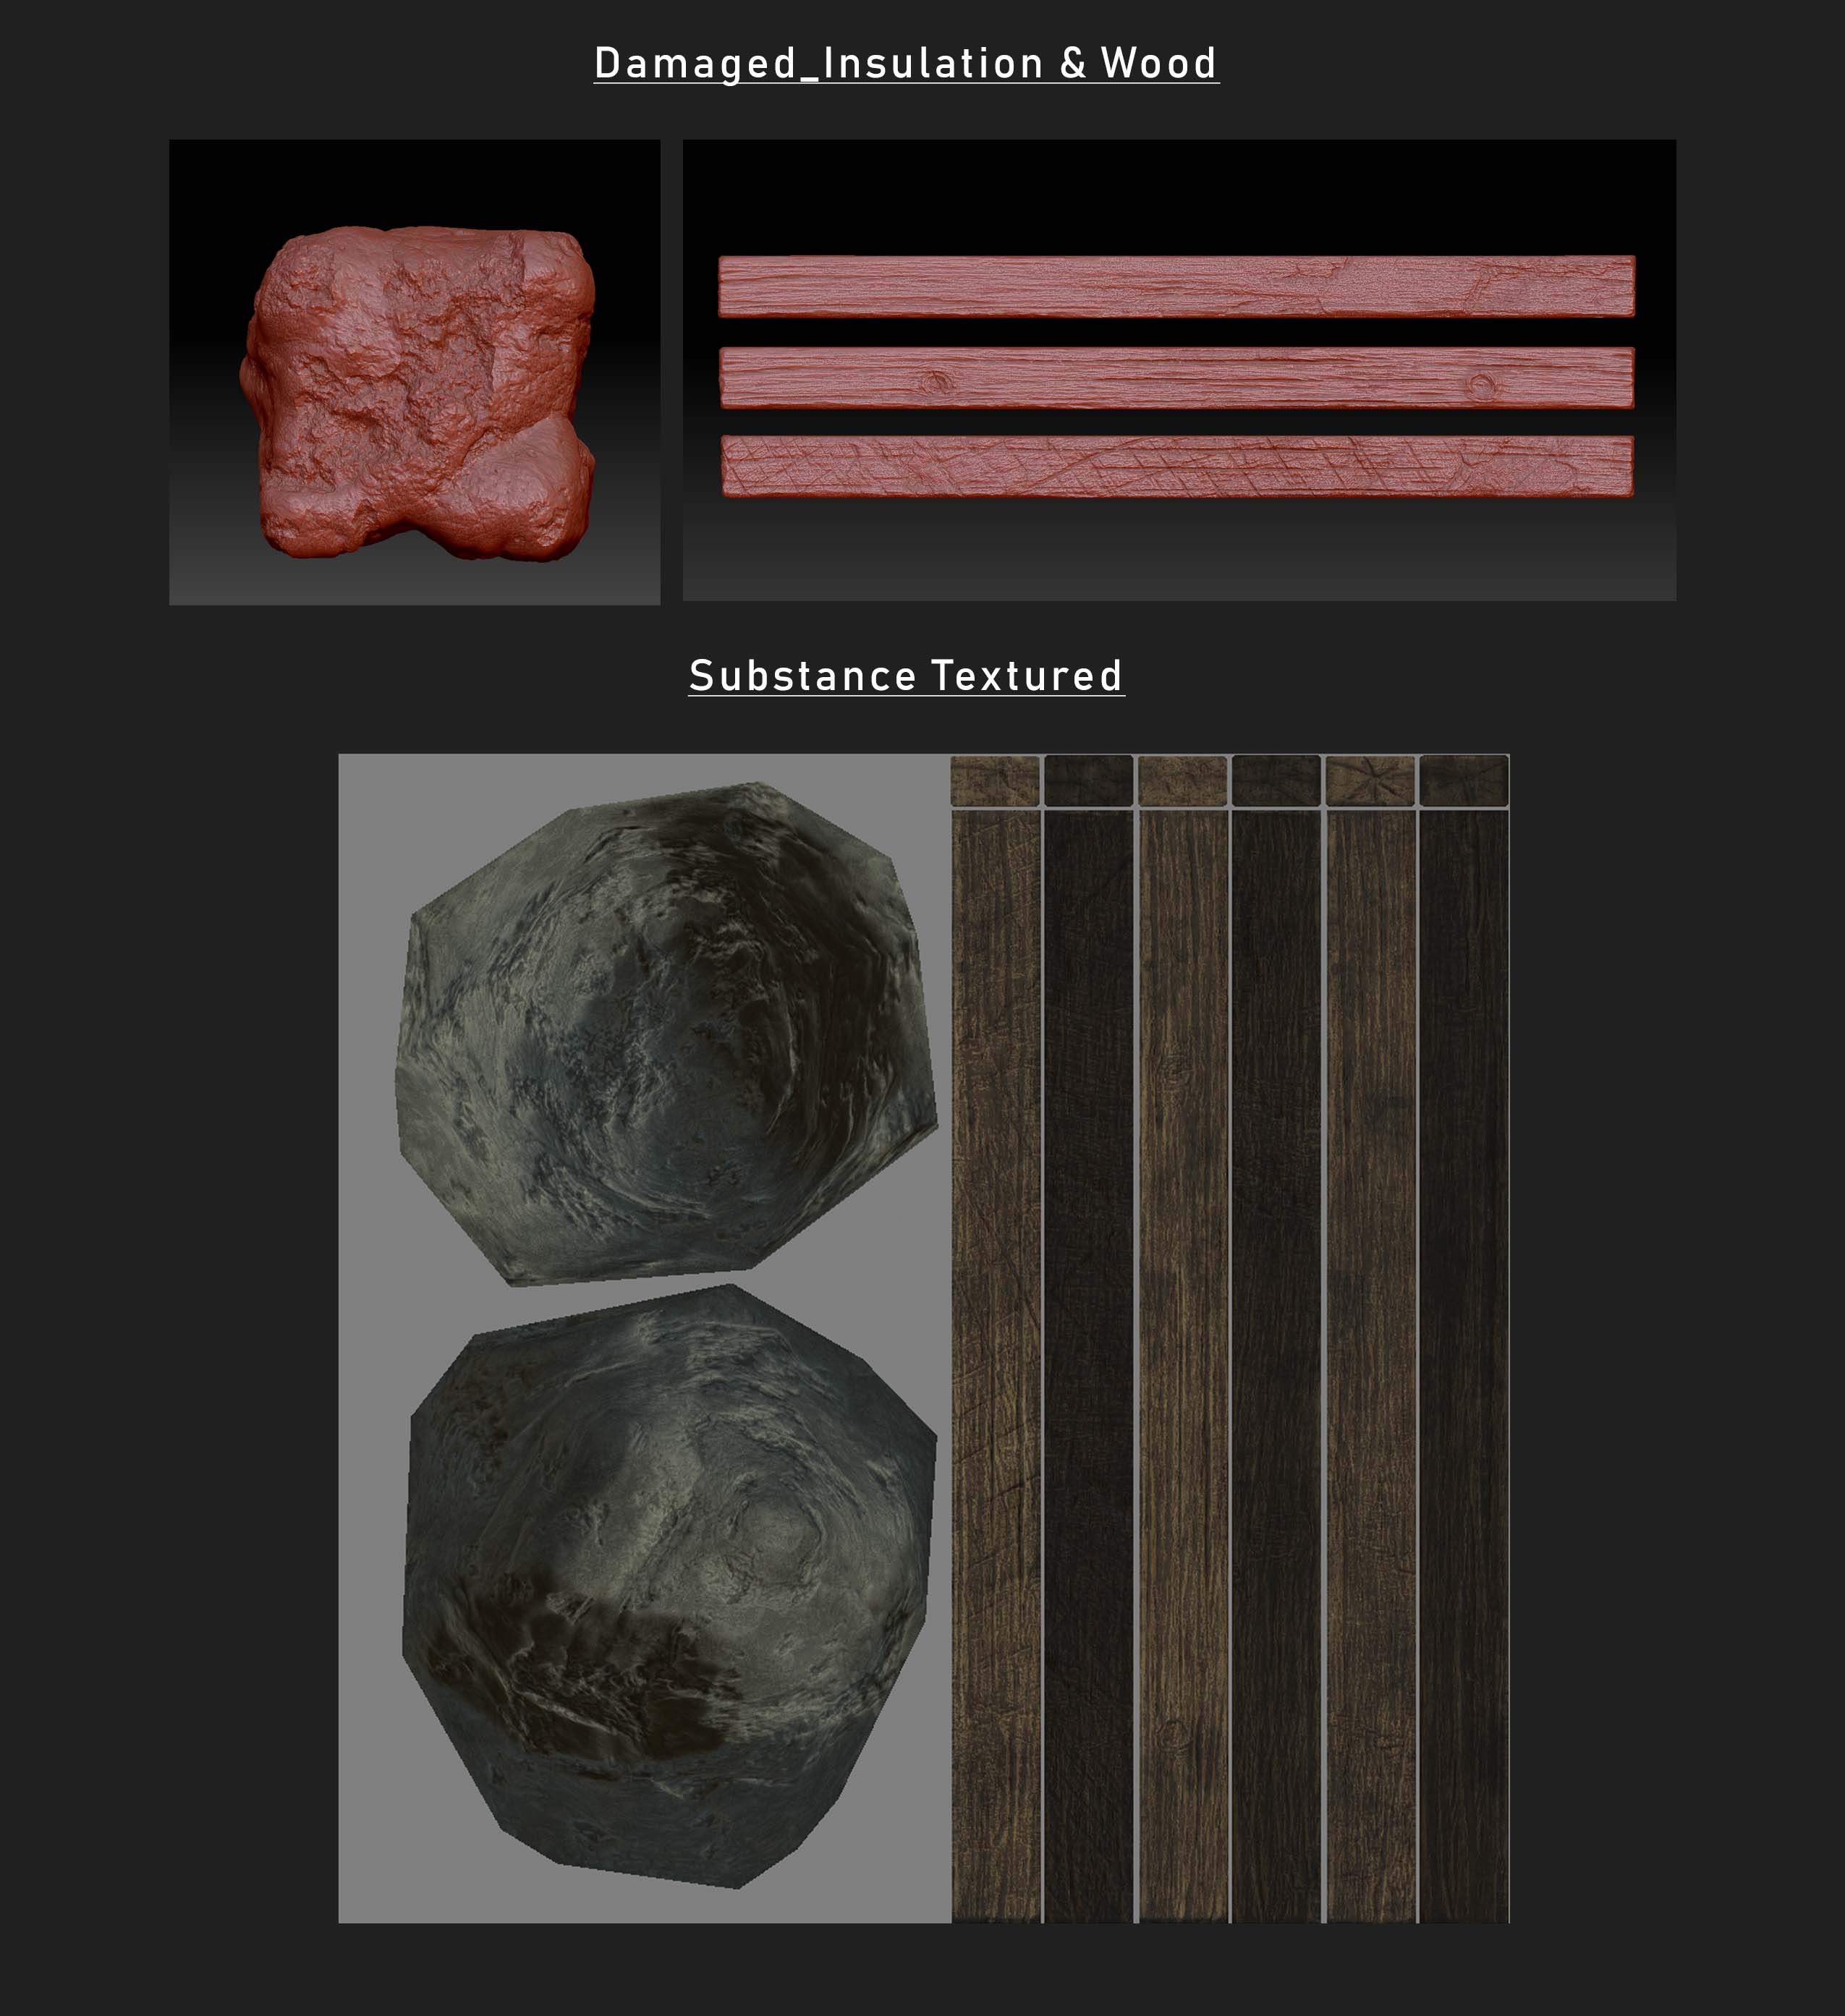
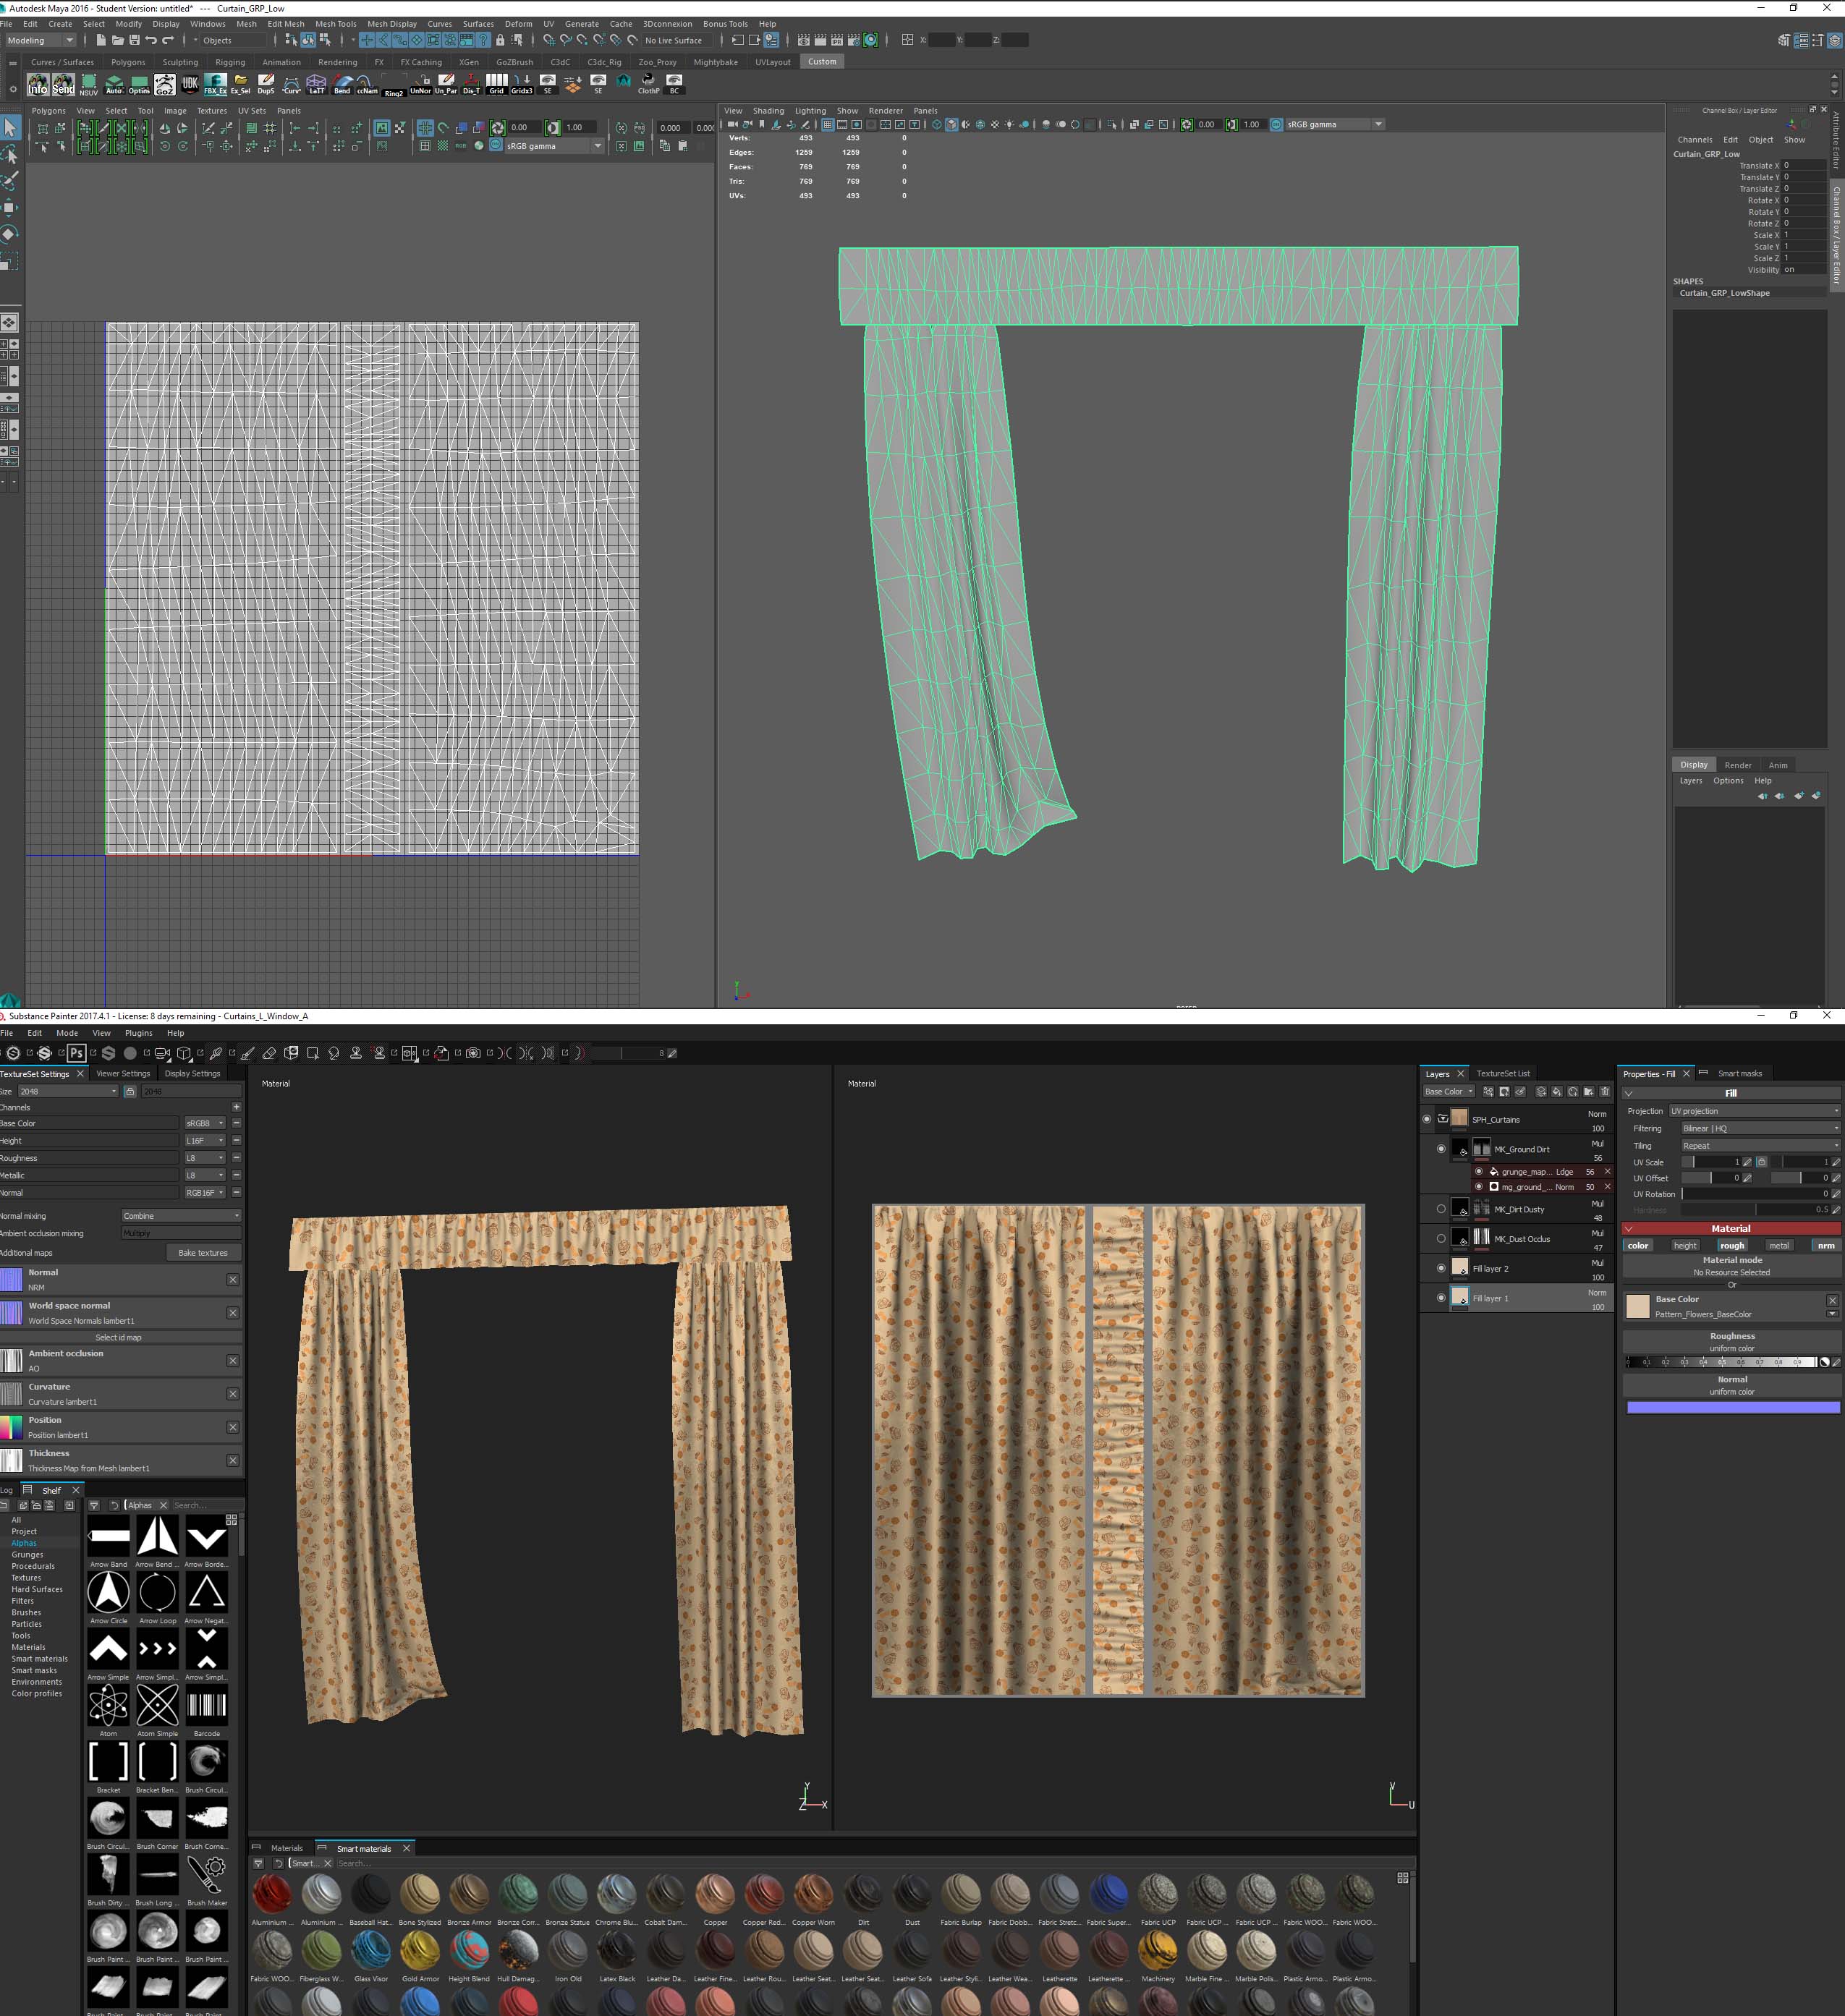
Non destruction workflow is very important as it allows for quicker iteration. With that in mind I setup the tiling trim sheet so it could be modified as the scene progressed. The blue box areas are the main wood trims and the red box area is extra space that was used for smaller modular models. Its key to get the most out of a trim sheet. As I modeled & UV’d the tiling trim sheet in Maya, I always made sure to keep uniformed texture density throughout the sheet.

Trim Layout in Maya

The modular trim models were combined together into a single mesh which was imported into Substance Painter. The appropriate textures were applied and exported at 2048×2048 (which could be reduced within Unreal if needed). Each main folder is linked (green box) to a color corresponding to a different trim. If I ever modified the mesh in Maya or added to it, I’d use Edit>Project Configuration (yellow box) in Substance Painter to re-import the updated mesh.

Trim Layout in Substance Painter

3.PBR Materials in Unreal

The custom materials I created in Unreal follow the PBR work flow. The Master Material has some basic options to change: tint/brightness of the basecolor, power/multi of the roughness, UV scale and a few more. The roughness, metal & ambient occlusion textures are channel packed into one texture. Using instances of this Master Material individual assets can have their unique textures placed and individual parameters modified.

Unreal PBR Master Material

The scene also required vertex color blending. I used the same RMA channel packing technique I used in the Master Material. Also I channel packed the height map texture into the Alpha channel of the Basecolor texture.

Unreal PBR Vertex Blend Master Material

A mixmap was used in the four way vertex blend material to mask out individual layers. Which helped create a paint chipping area for the stucco textures.

Custom Channel Packed Mixmap

A translucent material was created with another mixmap texture and used on the glass locations in the scene. Modifying the emissive grunge allowed me to mix up the look of each glass location.

Translucent PBR Master Material

Windows with Grunge

4.Custom Textures

All the tiling textures were made in Substance Designer.

Substance Designer Stucco Texture Group

Substance Designer Floor Texture Group

Substance Designer Brick Texture Group

Substance Designer Wood applied to Trim Sheet

Trim Sheet in 4 Way Blend Material in Unreal

In order to make custom patterns I used ZBrush to sculpt a flower, leaf and stem. I reused these sculpts and rendered them out at different angles with modified MatCaps. The Alphas were modified & tiled in Substance Designer to create patterns.

ZBrush Sculpts for Flower Patterns

The damaged wood and insulation was ZBrush sculpted using Alphas / Noises >  ZBrush Decimated > UV’d in Maya/UV Headus > Normals/AO baked in Marmoset/Knald > textured in Substance Painter.

Damaged Insulation and Wood

5.Asset Creation

The process of asset creation was creating the low / high poly meshes in Maya. Sometimes ZBrush would be used to add more detail to the high poly meshes. I was always very mindful of the total poly count of the final low poly mesh (retaining the silhouette of the model is key) . UV headus / Nightshade UV and Mayas default UV tools were used to create the UVs. The Normals/AO were baked in either Marmoset Toolbag or Knald, I used Knald mostly for the quicker AO bakes. The Normal/AO/ID maps would be brought into Substance Painter with the rest of the maps baked within Painter. If I needed one of my custom patterns I would bring them into Painter as a .sbsar file. I used folders within Painter to Color Select the ID map, within these folders Smart Masks were used to add on dirt, dust and other damage/wear. The Basecolor, Normal, RMA (Roughness, Metal & AO) textures were exported out at 2048×2048 (could be reduced in Unreal if needed). These could be re-exported out and re-imported into Unreal fairly quick if any changes were made. Most light map UVs were auto generated in Unreal, however some were custom made in Maya by adding another UV set.

Couch Asset

6.Marvelous Designer Cloth

An asset or structure mesh was imported into Marvelous as a reference (helped with the collision too). The cloth was modified within Marvelous and exported out as a high poly.

Marvelous Designer Curtains

Maya to Substance Painter Curtains

7.Lighting

For this scene I aimed for a colder (blue) interior and a warmer (orange) external lighting setup. I increased the temperature of the interior lights from 10,000-12,000 and external lighting temperature to 3,000-4,000.

Detailed Lighting

8.Lure

I wanted to guide the viewer/player within the scene. They’re several different openings to choose from when standing in the center of the room. My intent was to lure them up the staircase to the 2nd floor of the building. I used color and lighting to lure the viewer/player. The red carpet on the staircase is brighter and “newer” then other objects in the scene. The color red is the complementary color to the greenish damaged walls adjacent to the staircase. The cold bluish damaged floor is complemented by the warm yellow shadows from above (move away from the cold into the warmth). The light in the scene is directing the viewer/players attention to the stair case. The top oval window is casing a X shadow at the base of the staircase. The shadows of the main window stretched along the side wall, beckoning and luring the individual to it.

Lure